
Embarking on the Journey of Stitch Nails Design
As the sphere of nail art evolves, the stitch nails design has carved a niche for itself as an innovative and alluring trend. With its elaborate designs and artistic touch, it’s understandable why this style is a favorite among nail art aficionados globally. In this article, we will be your compass in navigating the realm of stitch nails design, highlighting every phase of the process to ensure you nail the perfect look.
Deciphering the Core of Stitch Nails Design
Prior to delving into the intricate details of crafting stitch nails design, it’s imperative to comprehend its basis. Stitch nails design is a nail art method that replicates the appearance of stitches on fabric. The complexity level can be adjusted to suit your preference, thus offering immense customization possibilities.
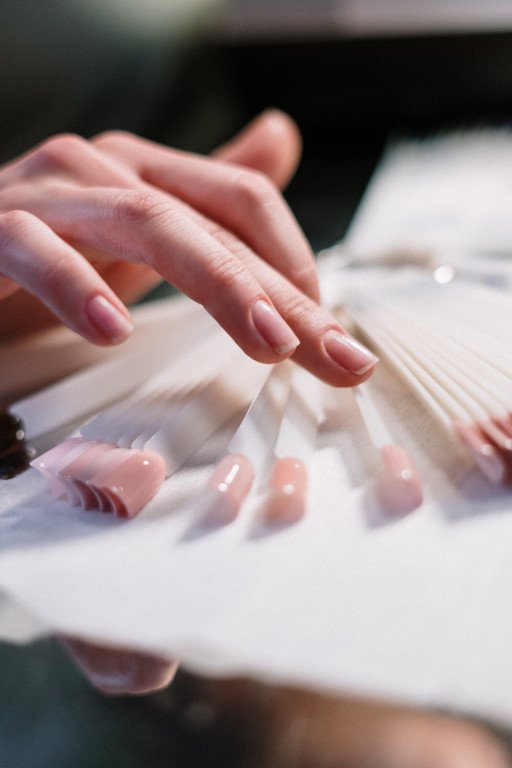
Essential Tools for Stitch Nails Design
To bring your stitch nails design to life, you’ll require these essential tools:
-
Nail enamel: Opt for colors that blend well. A minimum of two shades are needed – one for the base and another for the stitches.
-
Striping brush: This tool is utilized to craft the stitch lines.
-
Dotting implement: This tool is employed to fashion the stitch marks along the drawn lines.
-
Glossy sealant: This imparts a shiny finish and safeguards your design from chipping off.
-
Protective coating: This shields your nails from discoloration and enhances the longevity of your design.
A Comprehensive Guide to Crafting Stitch Nails Design
Now that your toolkit is complete, let’s immerse ourselves in the detailed process of crafting an eye-catching stitch nails design.
Step 1: Nail Preparation
First and foremost, ensure your nails are squeaky clean and devoid of any previous nail enamel. Apply a protective coating to shield your nails and provide an even base for your design.
Step 2: Base Color Application
Select a base color that will form a striking contrast with your stitch color. Apply two coats for complete coverage and let it dry thoroughly.
Step 3: Crafting Stitch Lines
Dip your striping brush in your chosen stitch color, and paint diagonal lines across each nail. These lines will form the blueprint of your stitch lines.
Step 4: Adding Stitches
Dip your dotting tool in the same stitch color and add petite dots along each line to simulate stitches. Ensure each dot is evenly spaced for a consistent look.
Step 5: Design Protection
Once your design has dried, safeguard it with a glossy sealant. This step is crucial as it shields your design from daily wear and tear, imparting a professional finish.
Unleashing Creativity with Different Stitch Nails Design Styles
Stitch nails design is a treasure trove of artistic possibilities. Here are a few styles you can dabble in:
-
Cross-Stitch Nails Design: This style recreates the effect of cross-stitching on nails using X-shaped stitches.
-
Patchwork Stitch Nails Design: This style involves crafting multiple squares or rectangles on each nail, each filled with a distinct pattern or hue.
-
Embroidery Stitch Nails Design: This design replicates the appearance of embroidered fabric with intricate stitches and designs.
Strategies for Enhancing Your Stitch Nails Design
Crafting an impeccable stitch nails design demands practice and patience. Here are a few strategies to assist you in refining your technique:
-
Opt for Thin Brushes: Thin brushes offer more precision, which is vital for creating a realistic stitch effect.
-
Patience is Key: Allow each layer of nail enamel to dry completely before proceeding to the next step. This prevents smudging and ensures a neat design.
-
Keep Practicing: Don’t be disheartened if your initial attempt isn’t flawless. With continuous practice, you’ll enhance your precision and speed.
Wrapping Up
Stitch nails design is an imaginative way to express your personal style. Armed with the right tools and techniques, anyone can conquer this nail art trend. So why hesitate? Ignite your inner artist today and plunge into the universe of revamp your holiday look with christmas glitter nails designs. Also, explore the history of nail art to get more inspiration!